

Firstly we covered out cake board with black fondant icing. We’re using the stuff you buy pre-made rather than trying to make our own, as apparently this falls into that rare category of items you’re allowed to buy rather than make yourself, like Filo pastry.
We’d originally bought a single pack of black icing thinking that would cover the cake and the board. No. It wouldn’t even cover the board! We ended up using the best part of five packs for both board and cake.
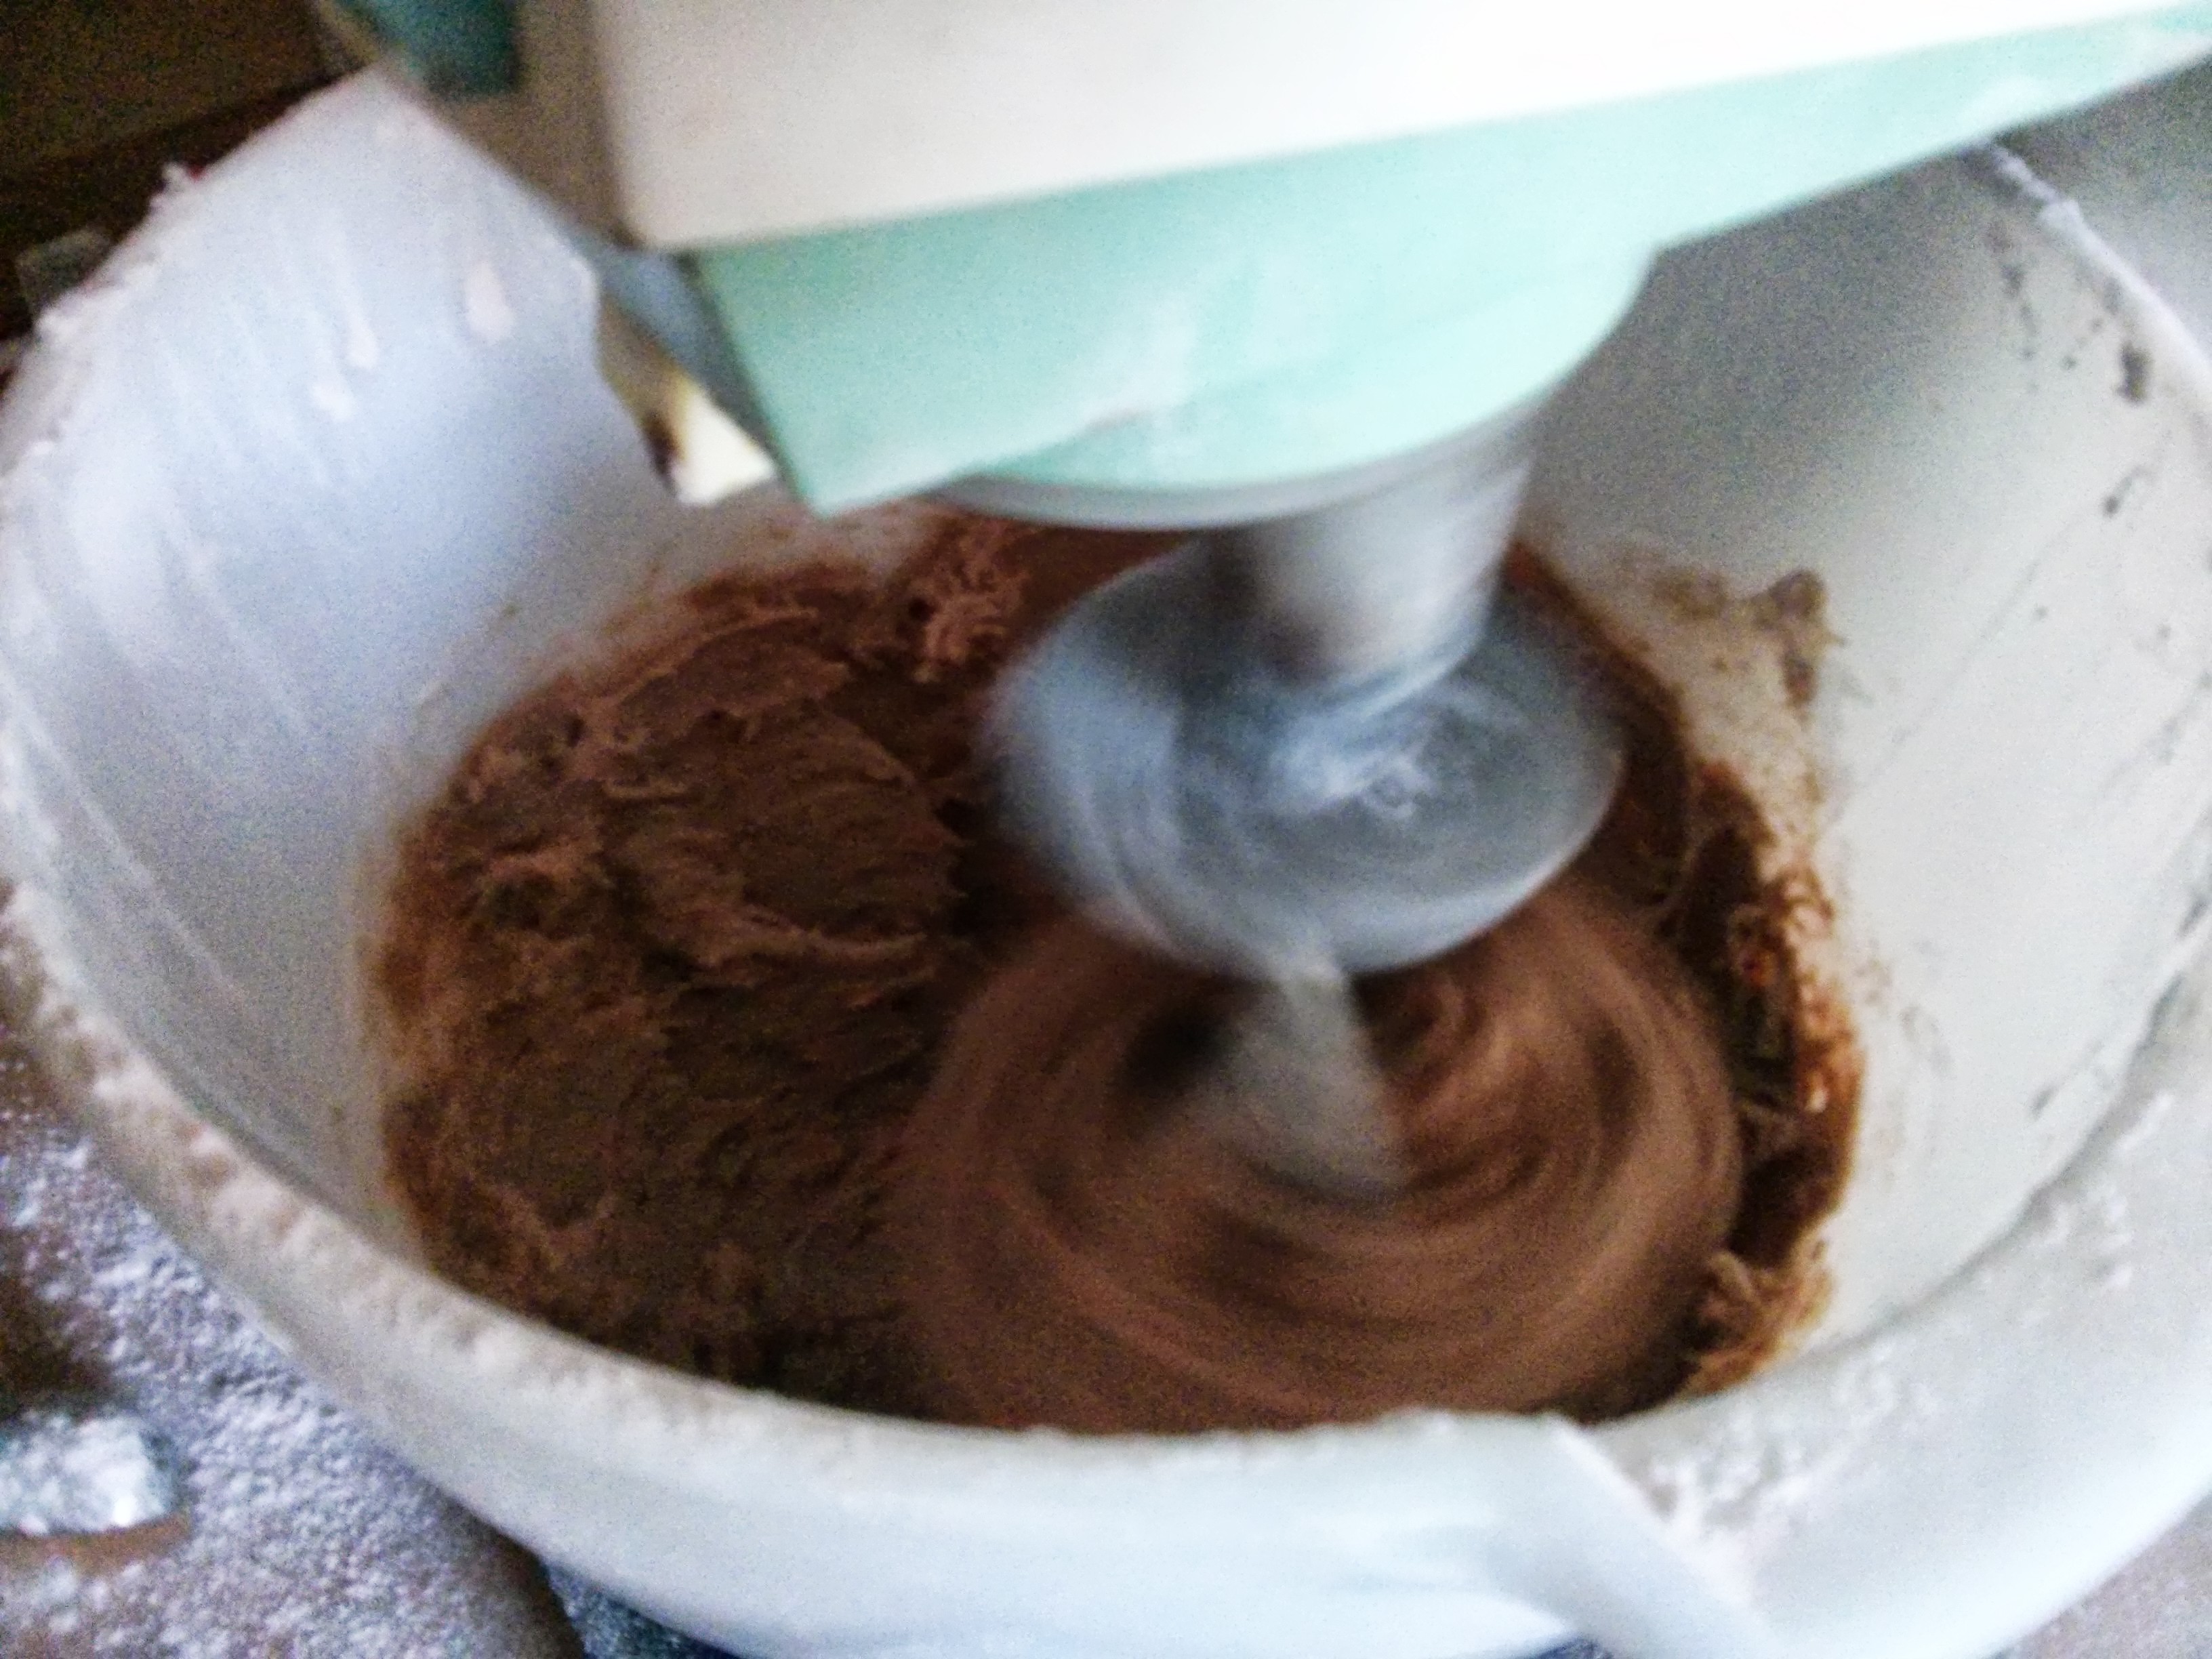
 Then we made our own butter cream; it’s not acceptable to buy this ready-made!: it’s just icing sugar, cocoa and butter!
 However mixing it in the mixer might involve icing sugar gong everywhere…
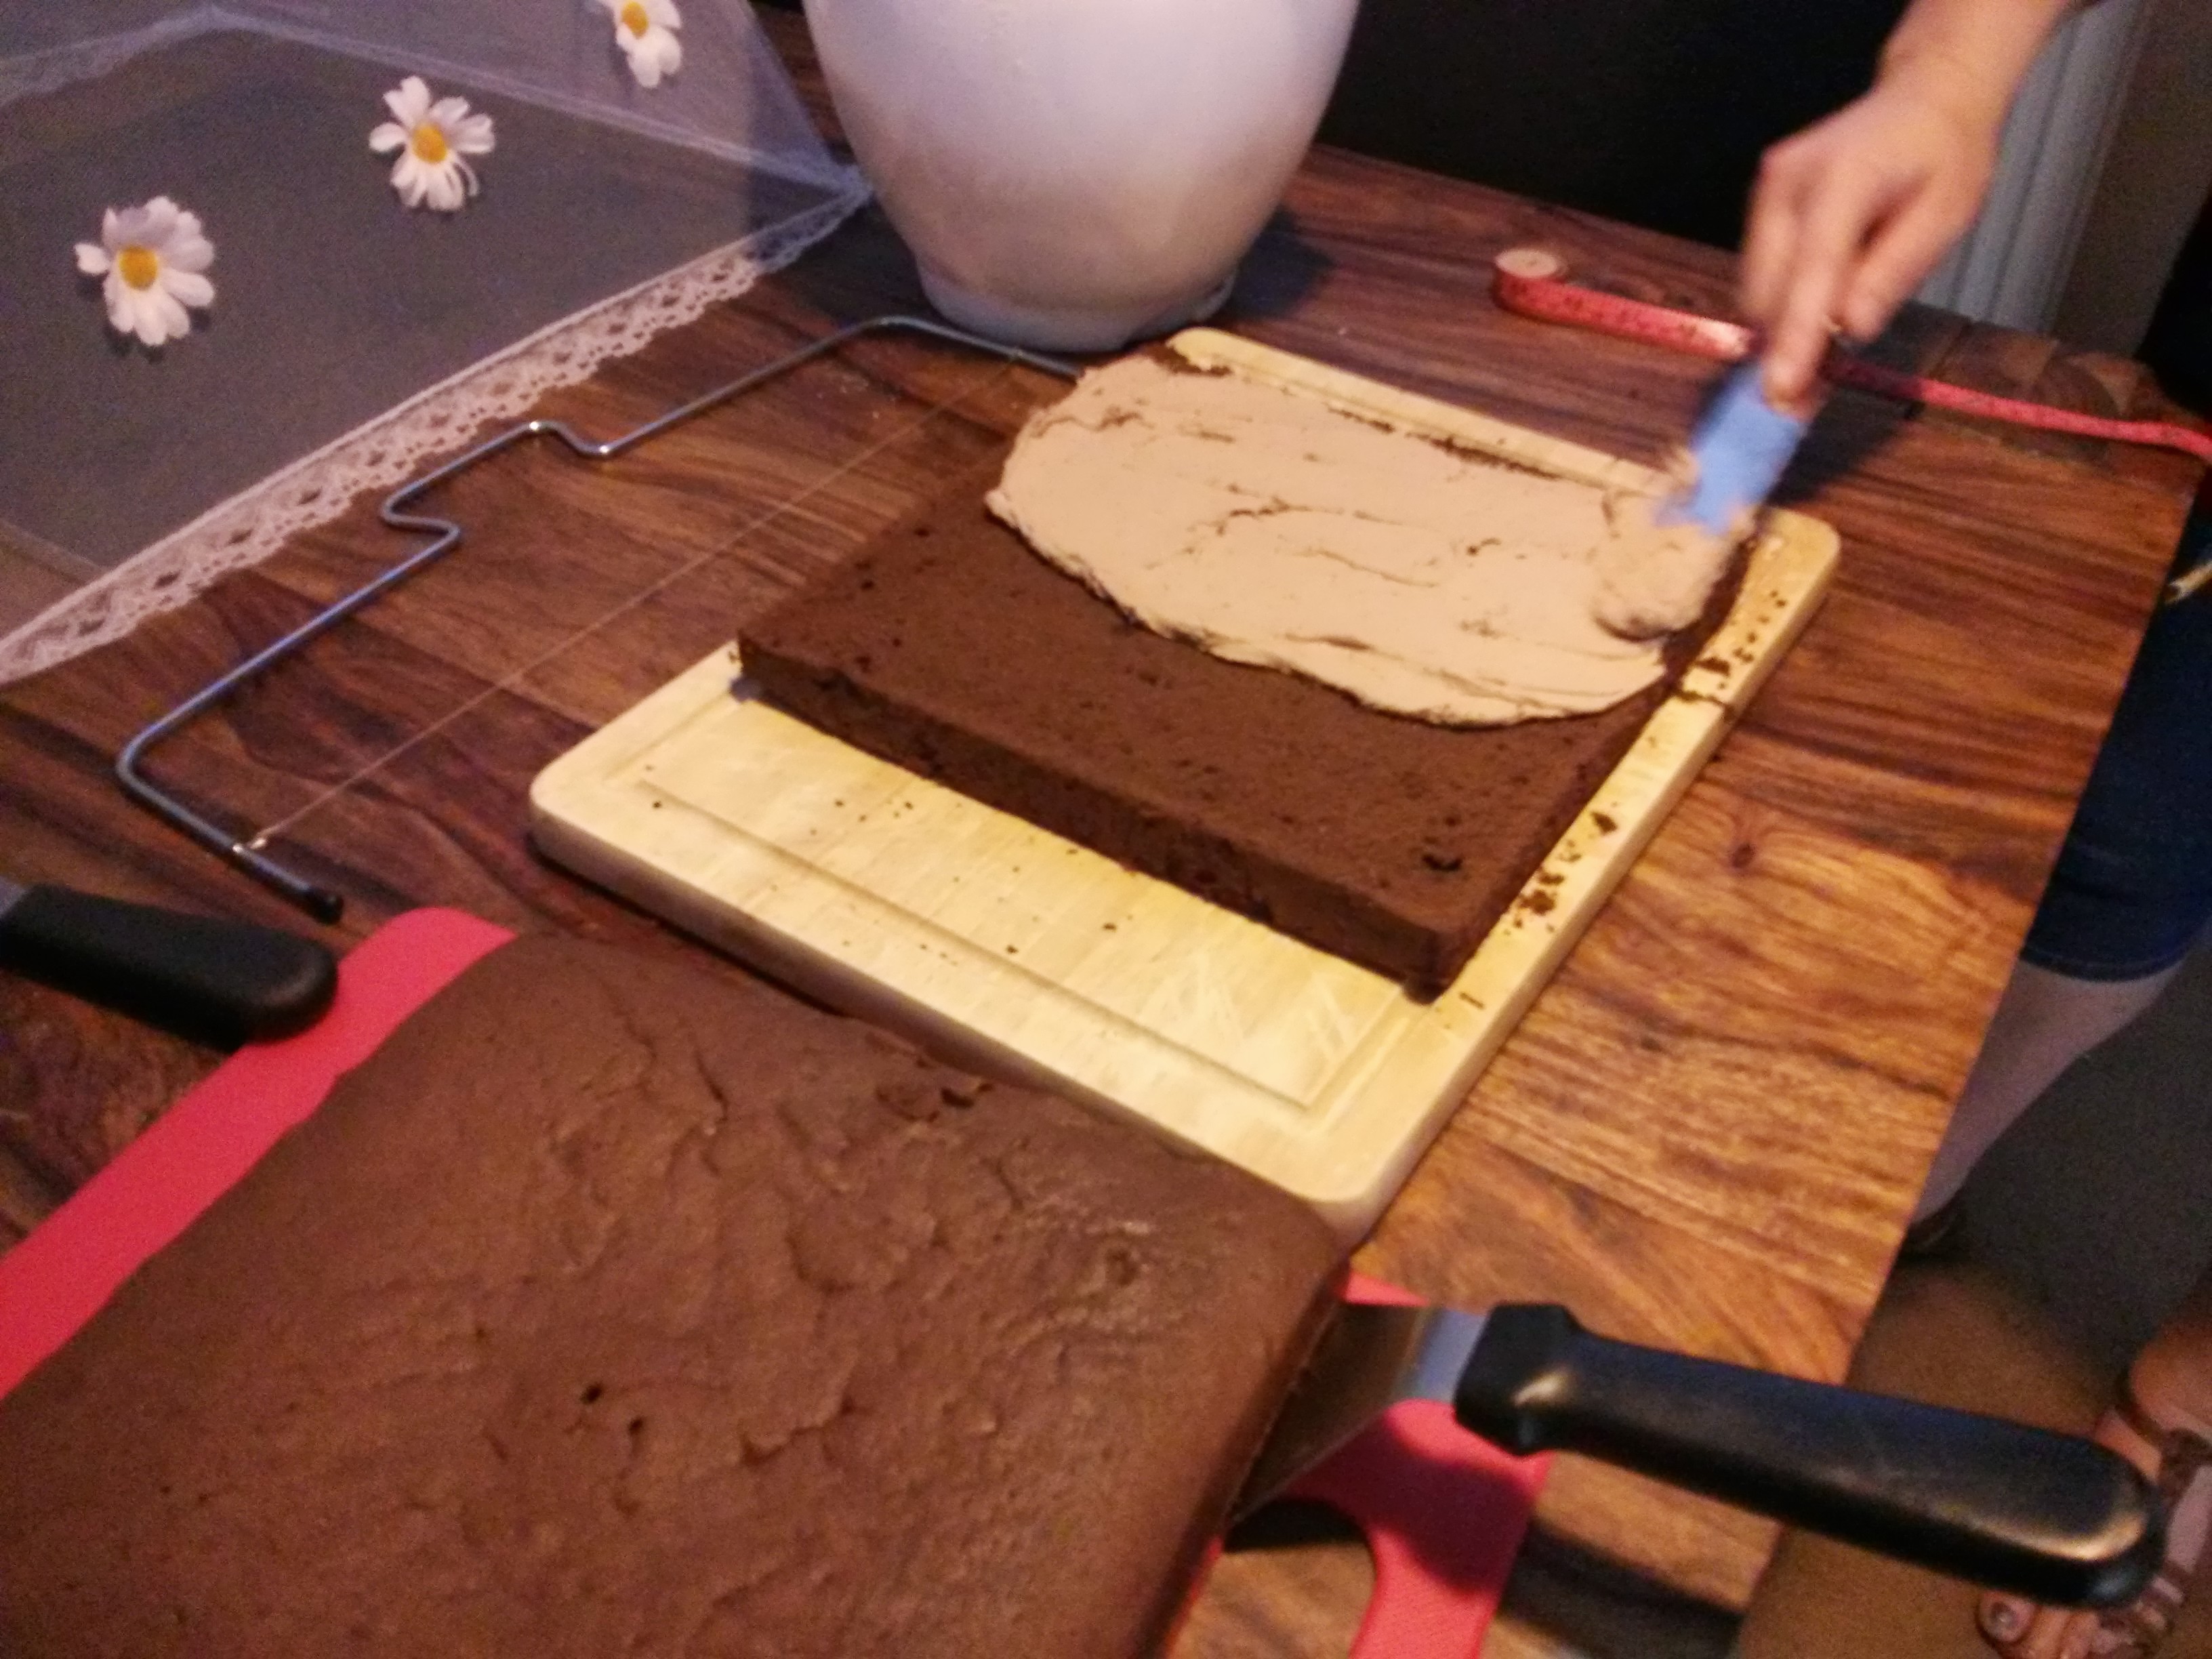
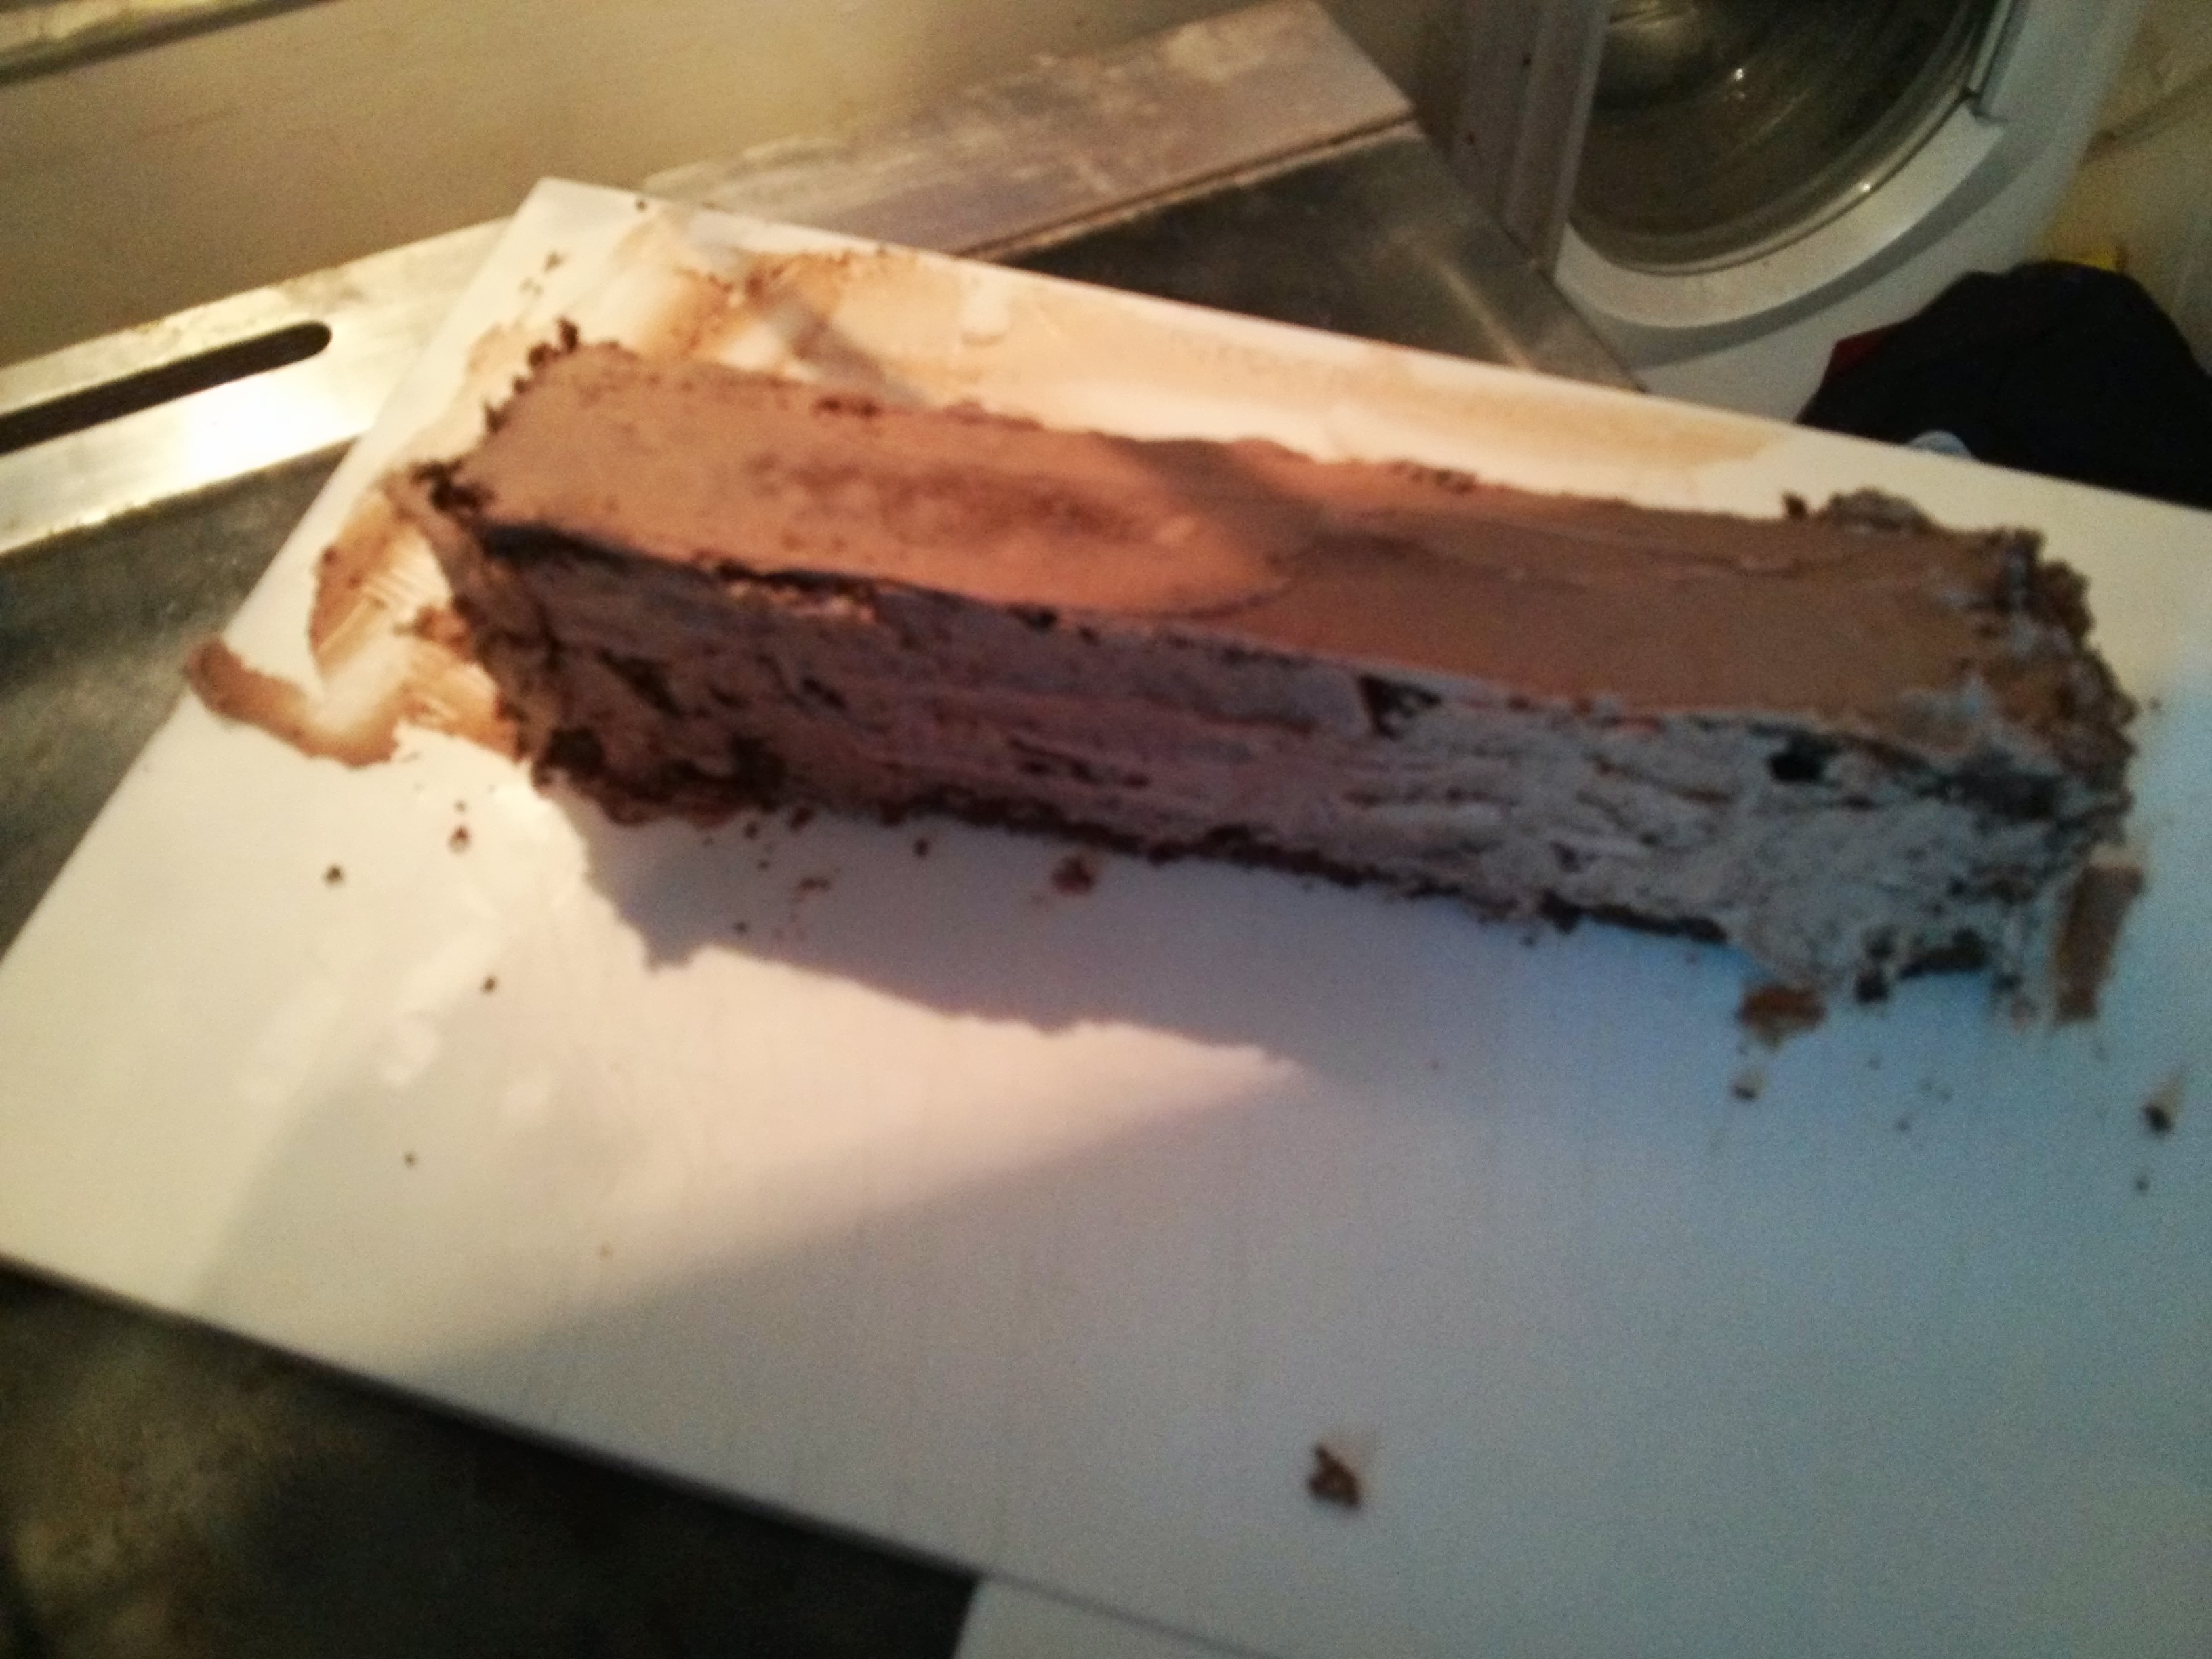
We then sliced the cake using a very useful cake wire gadget.
 The buttercream goes in the middle.
 Then the top goes back on, and buttercream goes all over.
 Then one of the many hard parts… getting the rolled icing over the cake! I sort of rolled it over the rolling pin a bit, then lifted it up quickly… which sort of worked.
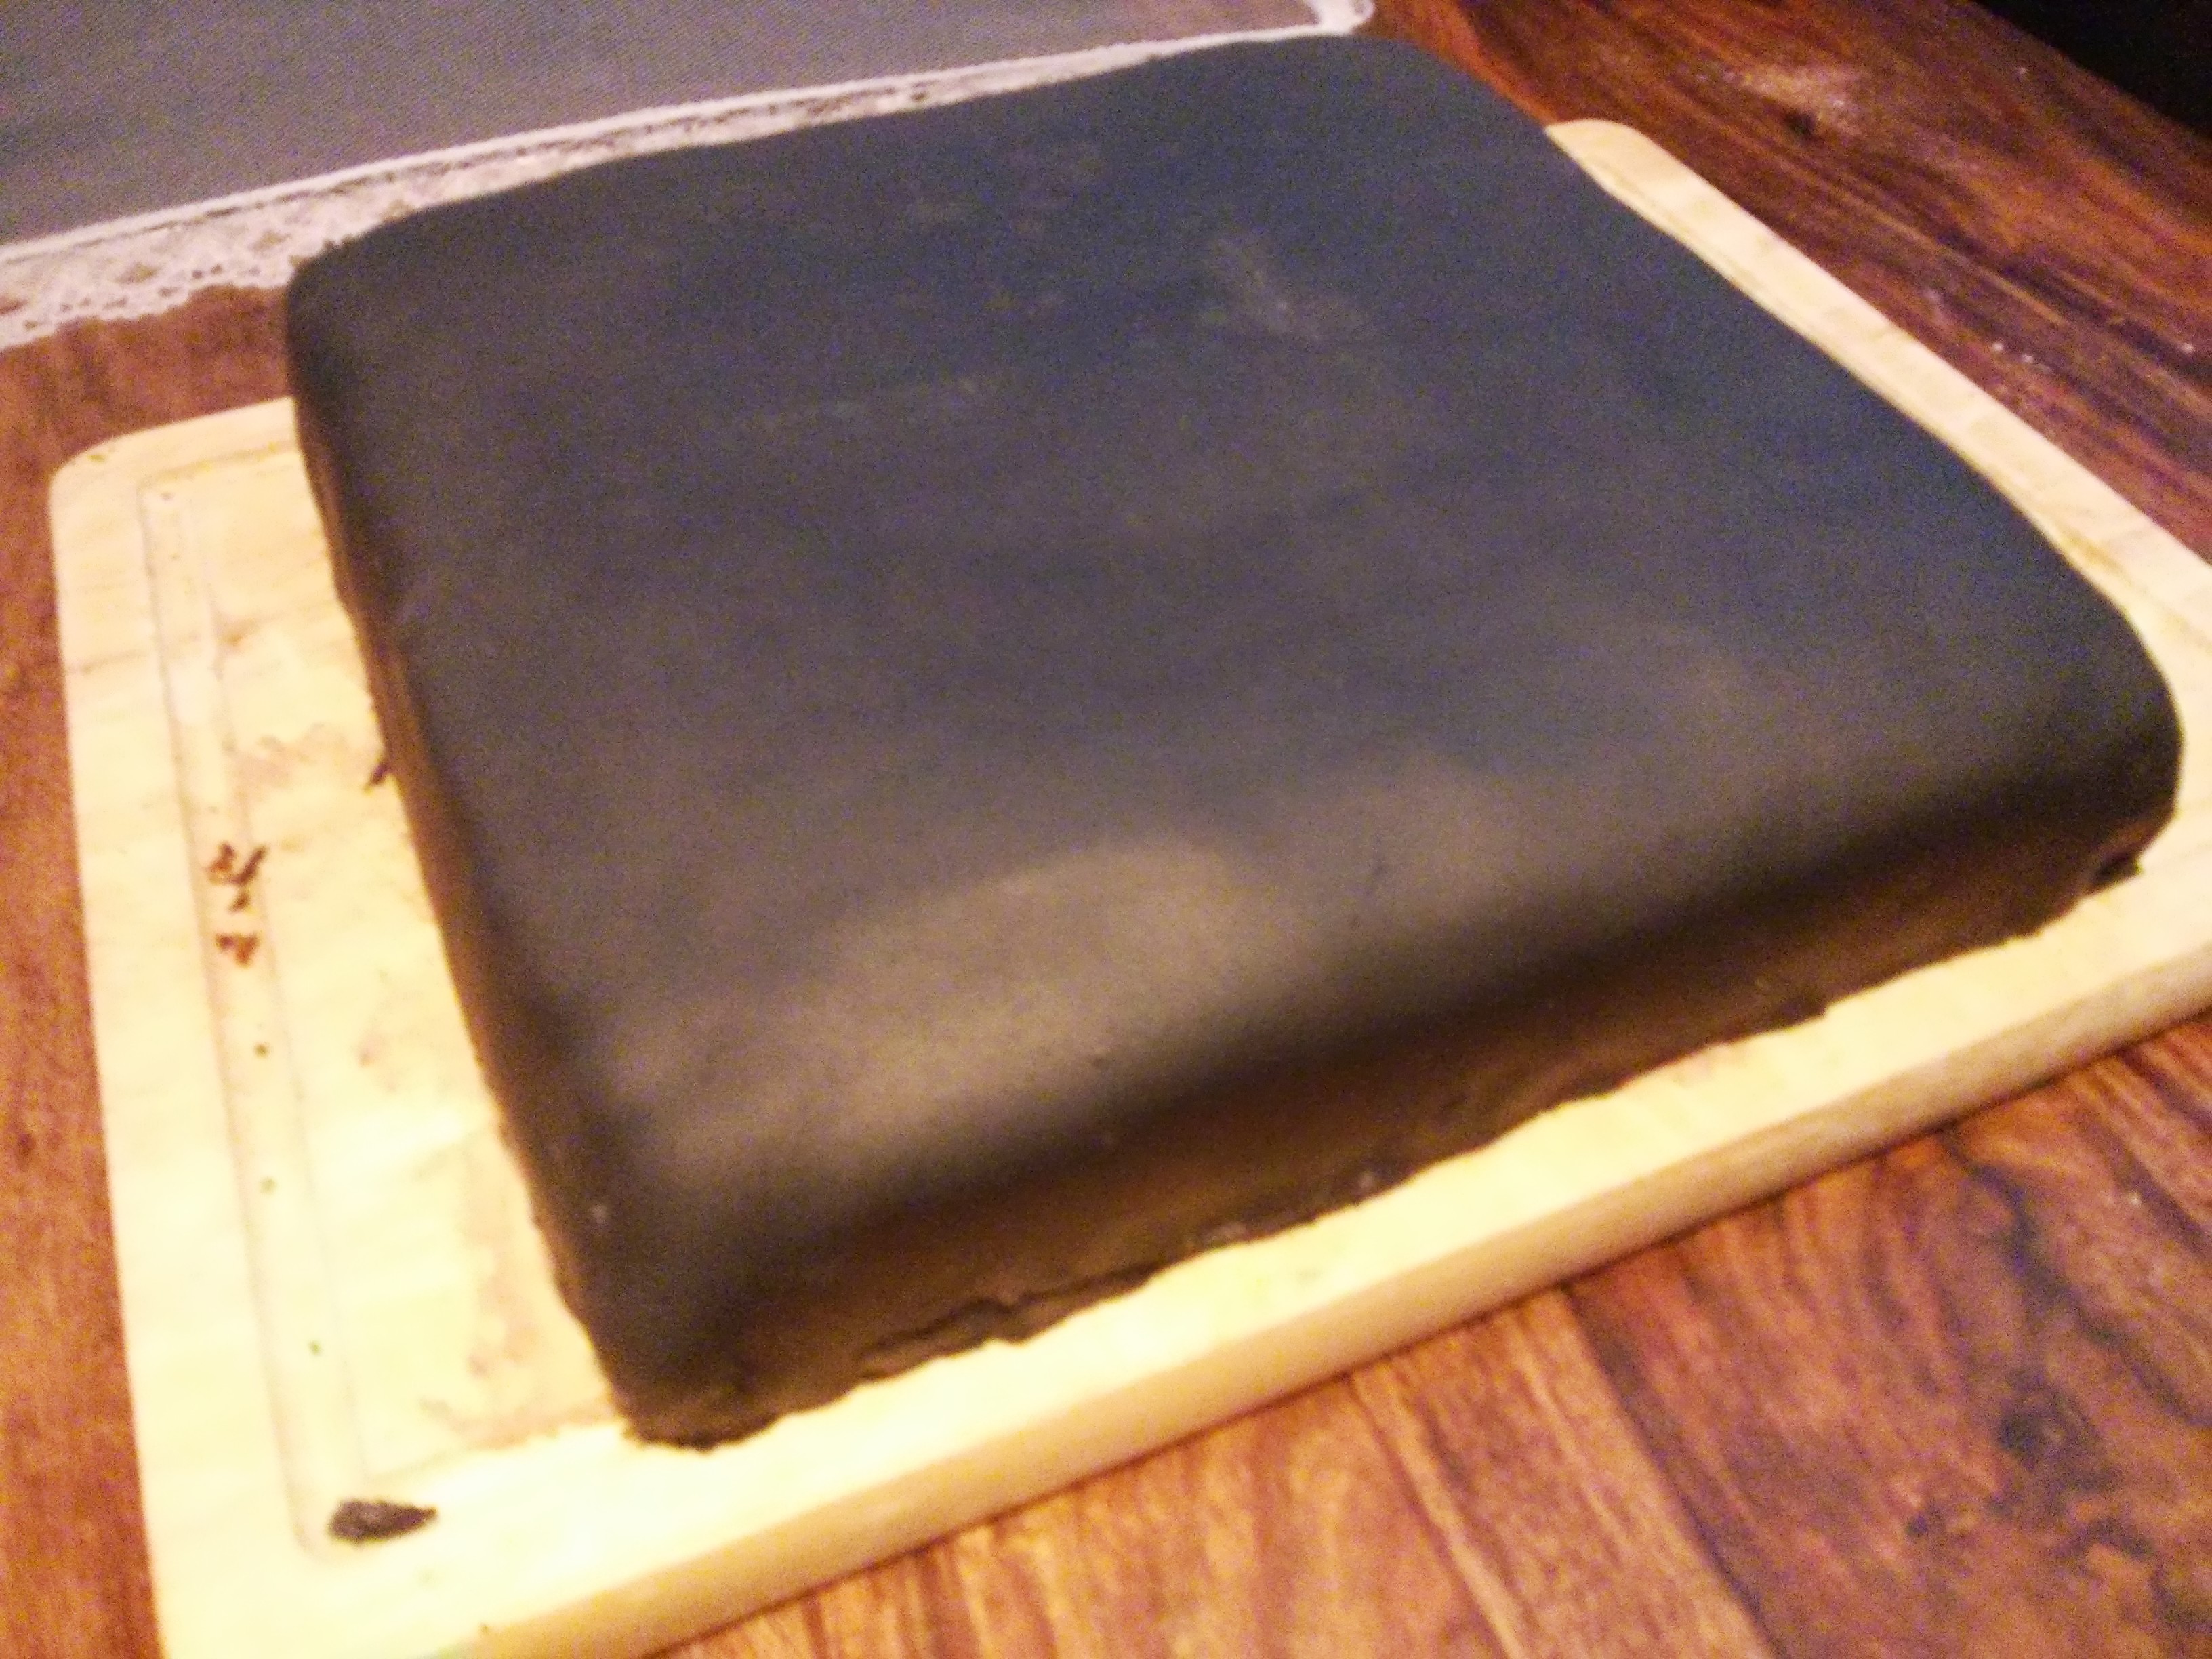
 After pressing down, trimming, and wiping off icing sugar it doesn’t look too bad!
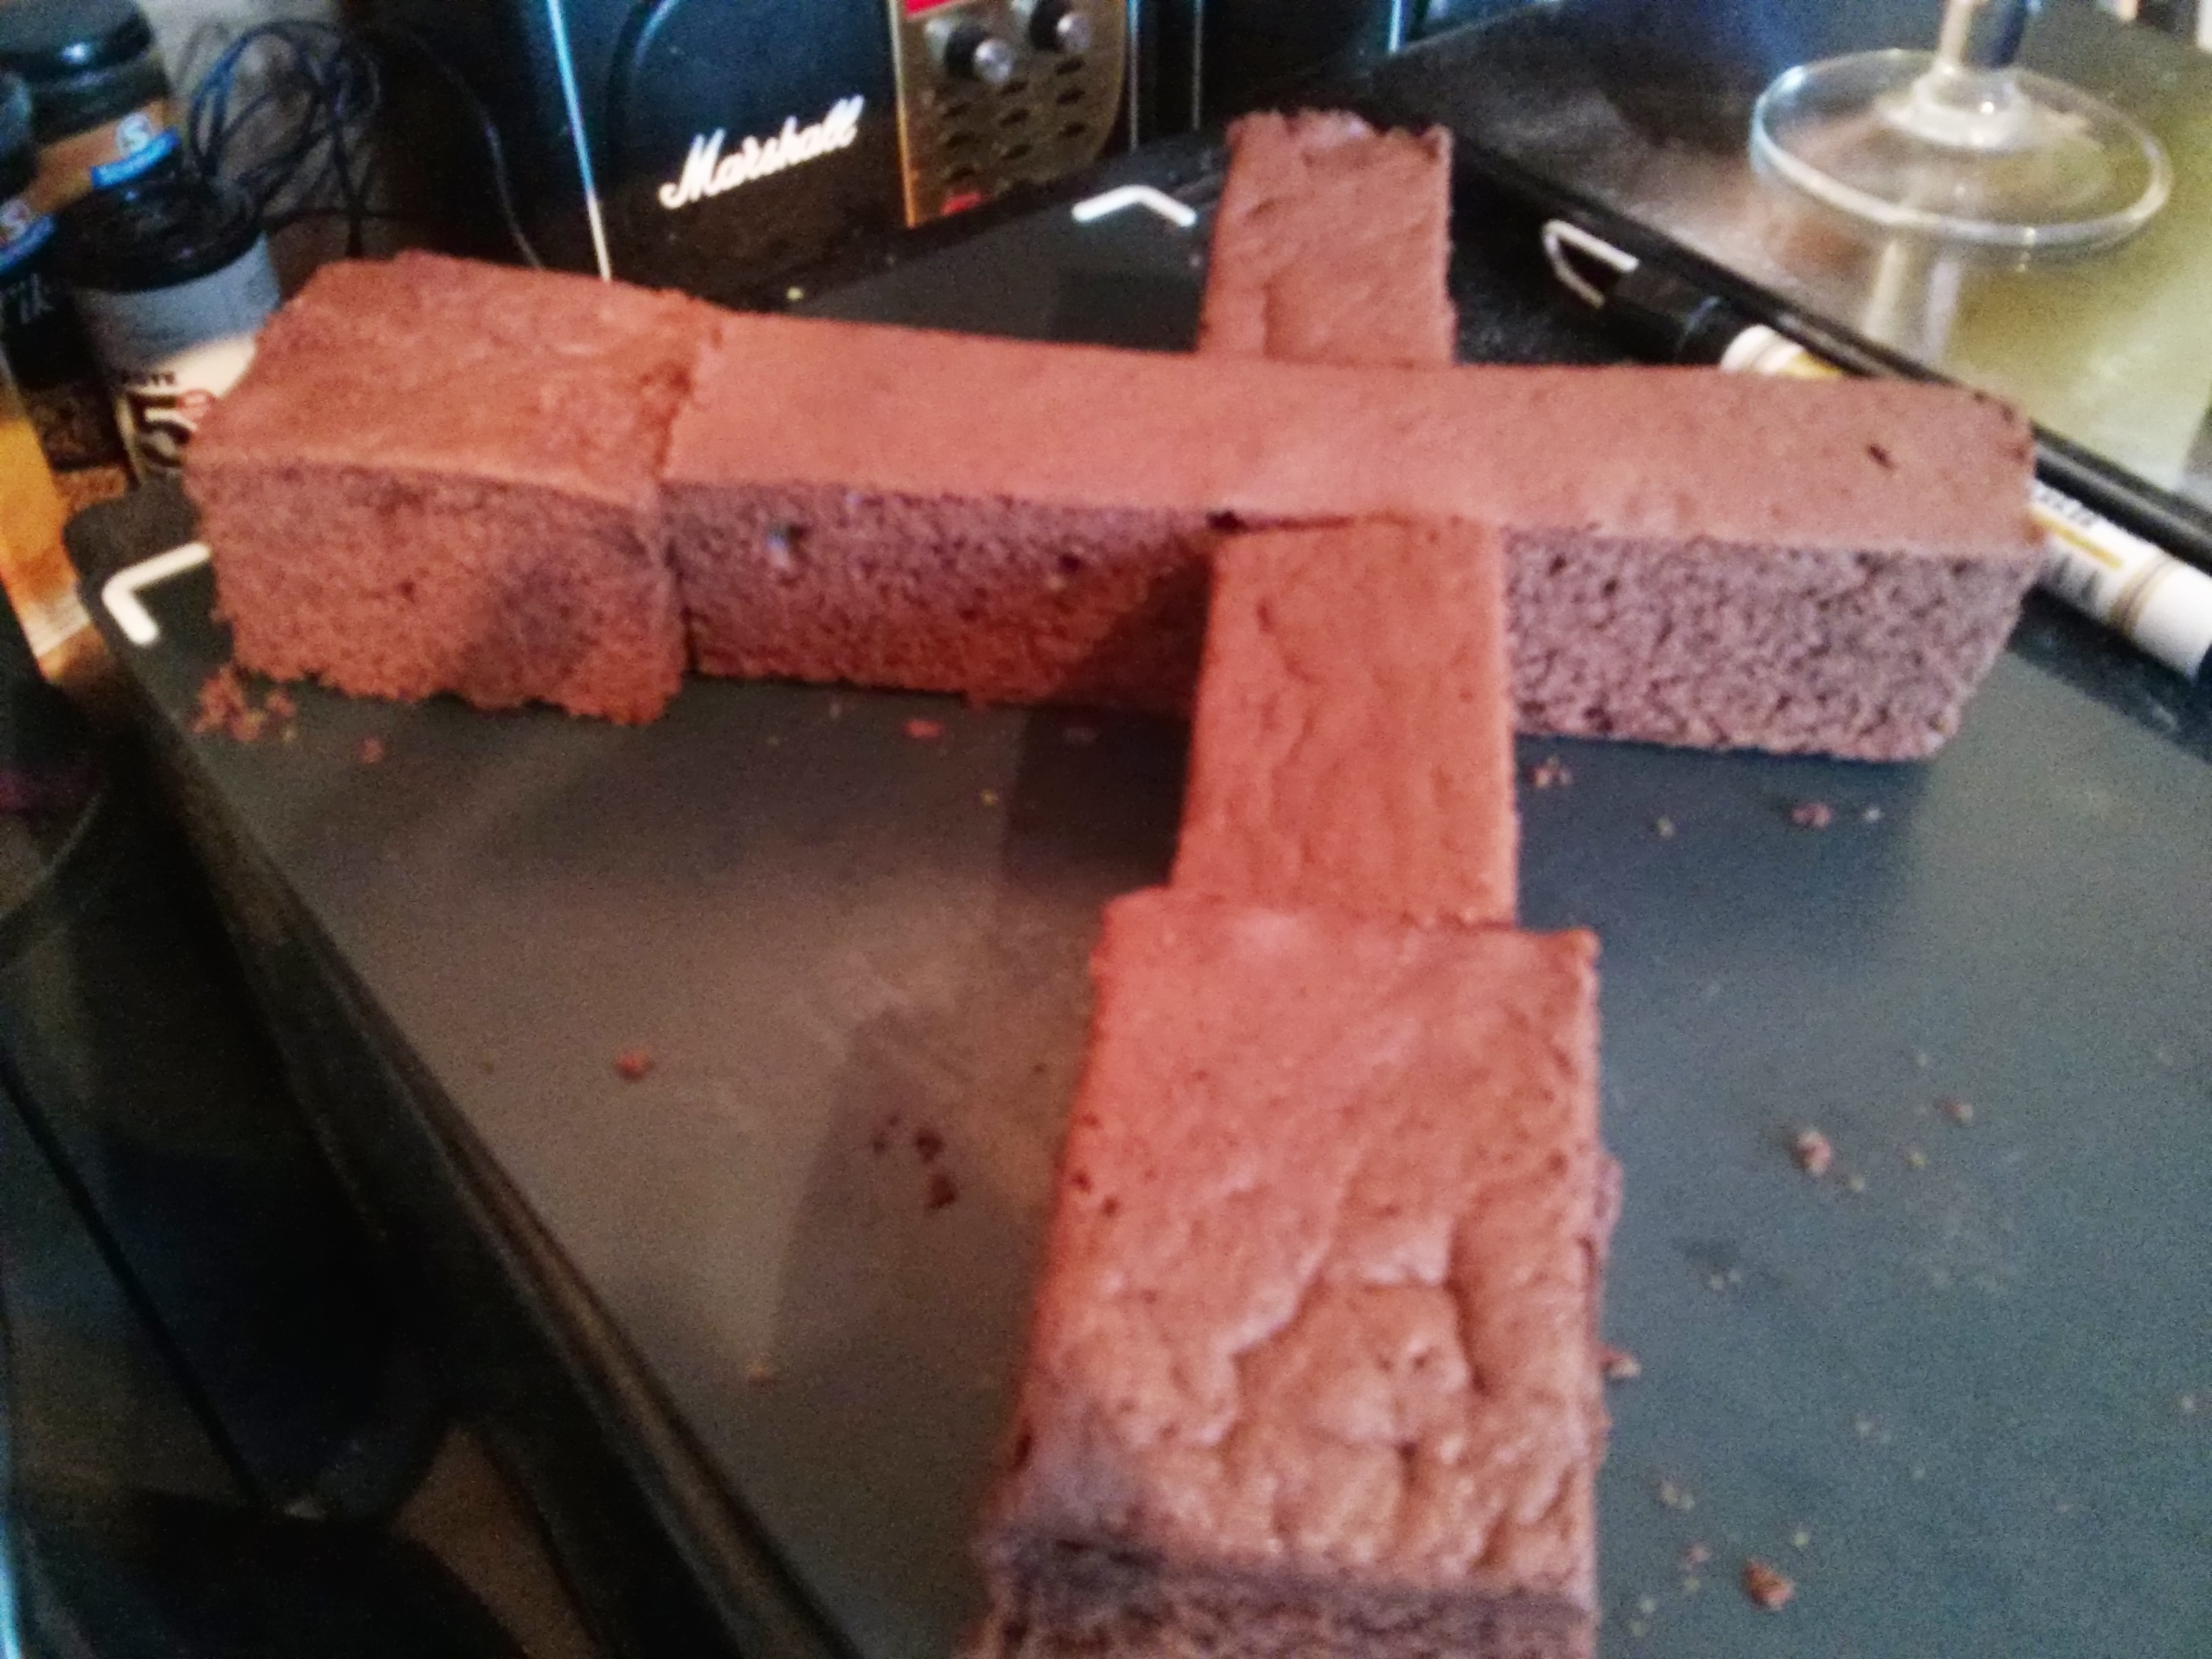
Next is the crossed light sabres on top off the cake. I started with a rough sketch with some measurements on it!
 So those sections got cut out in cake segments.
 These then get the buttercream treatment.
 Then fondant covering.
 Then fondant detail.
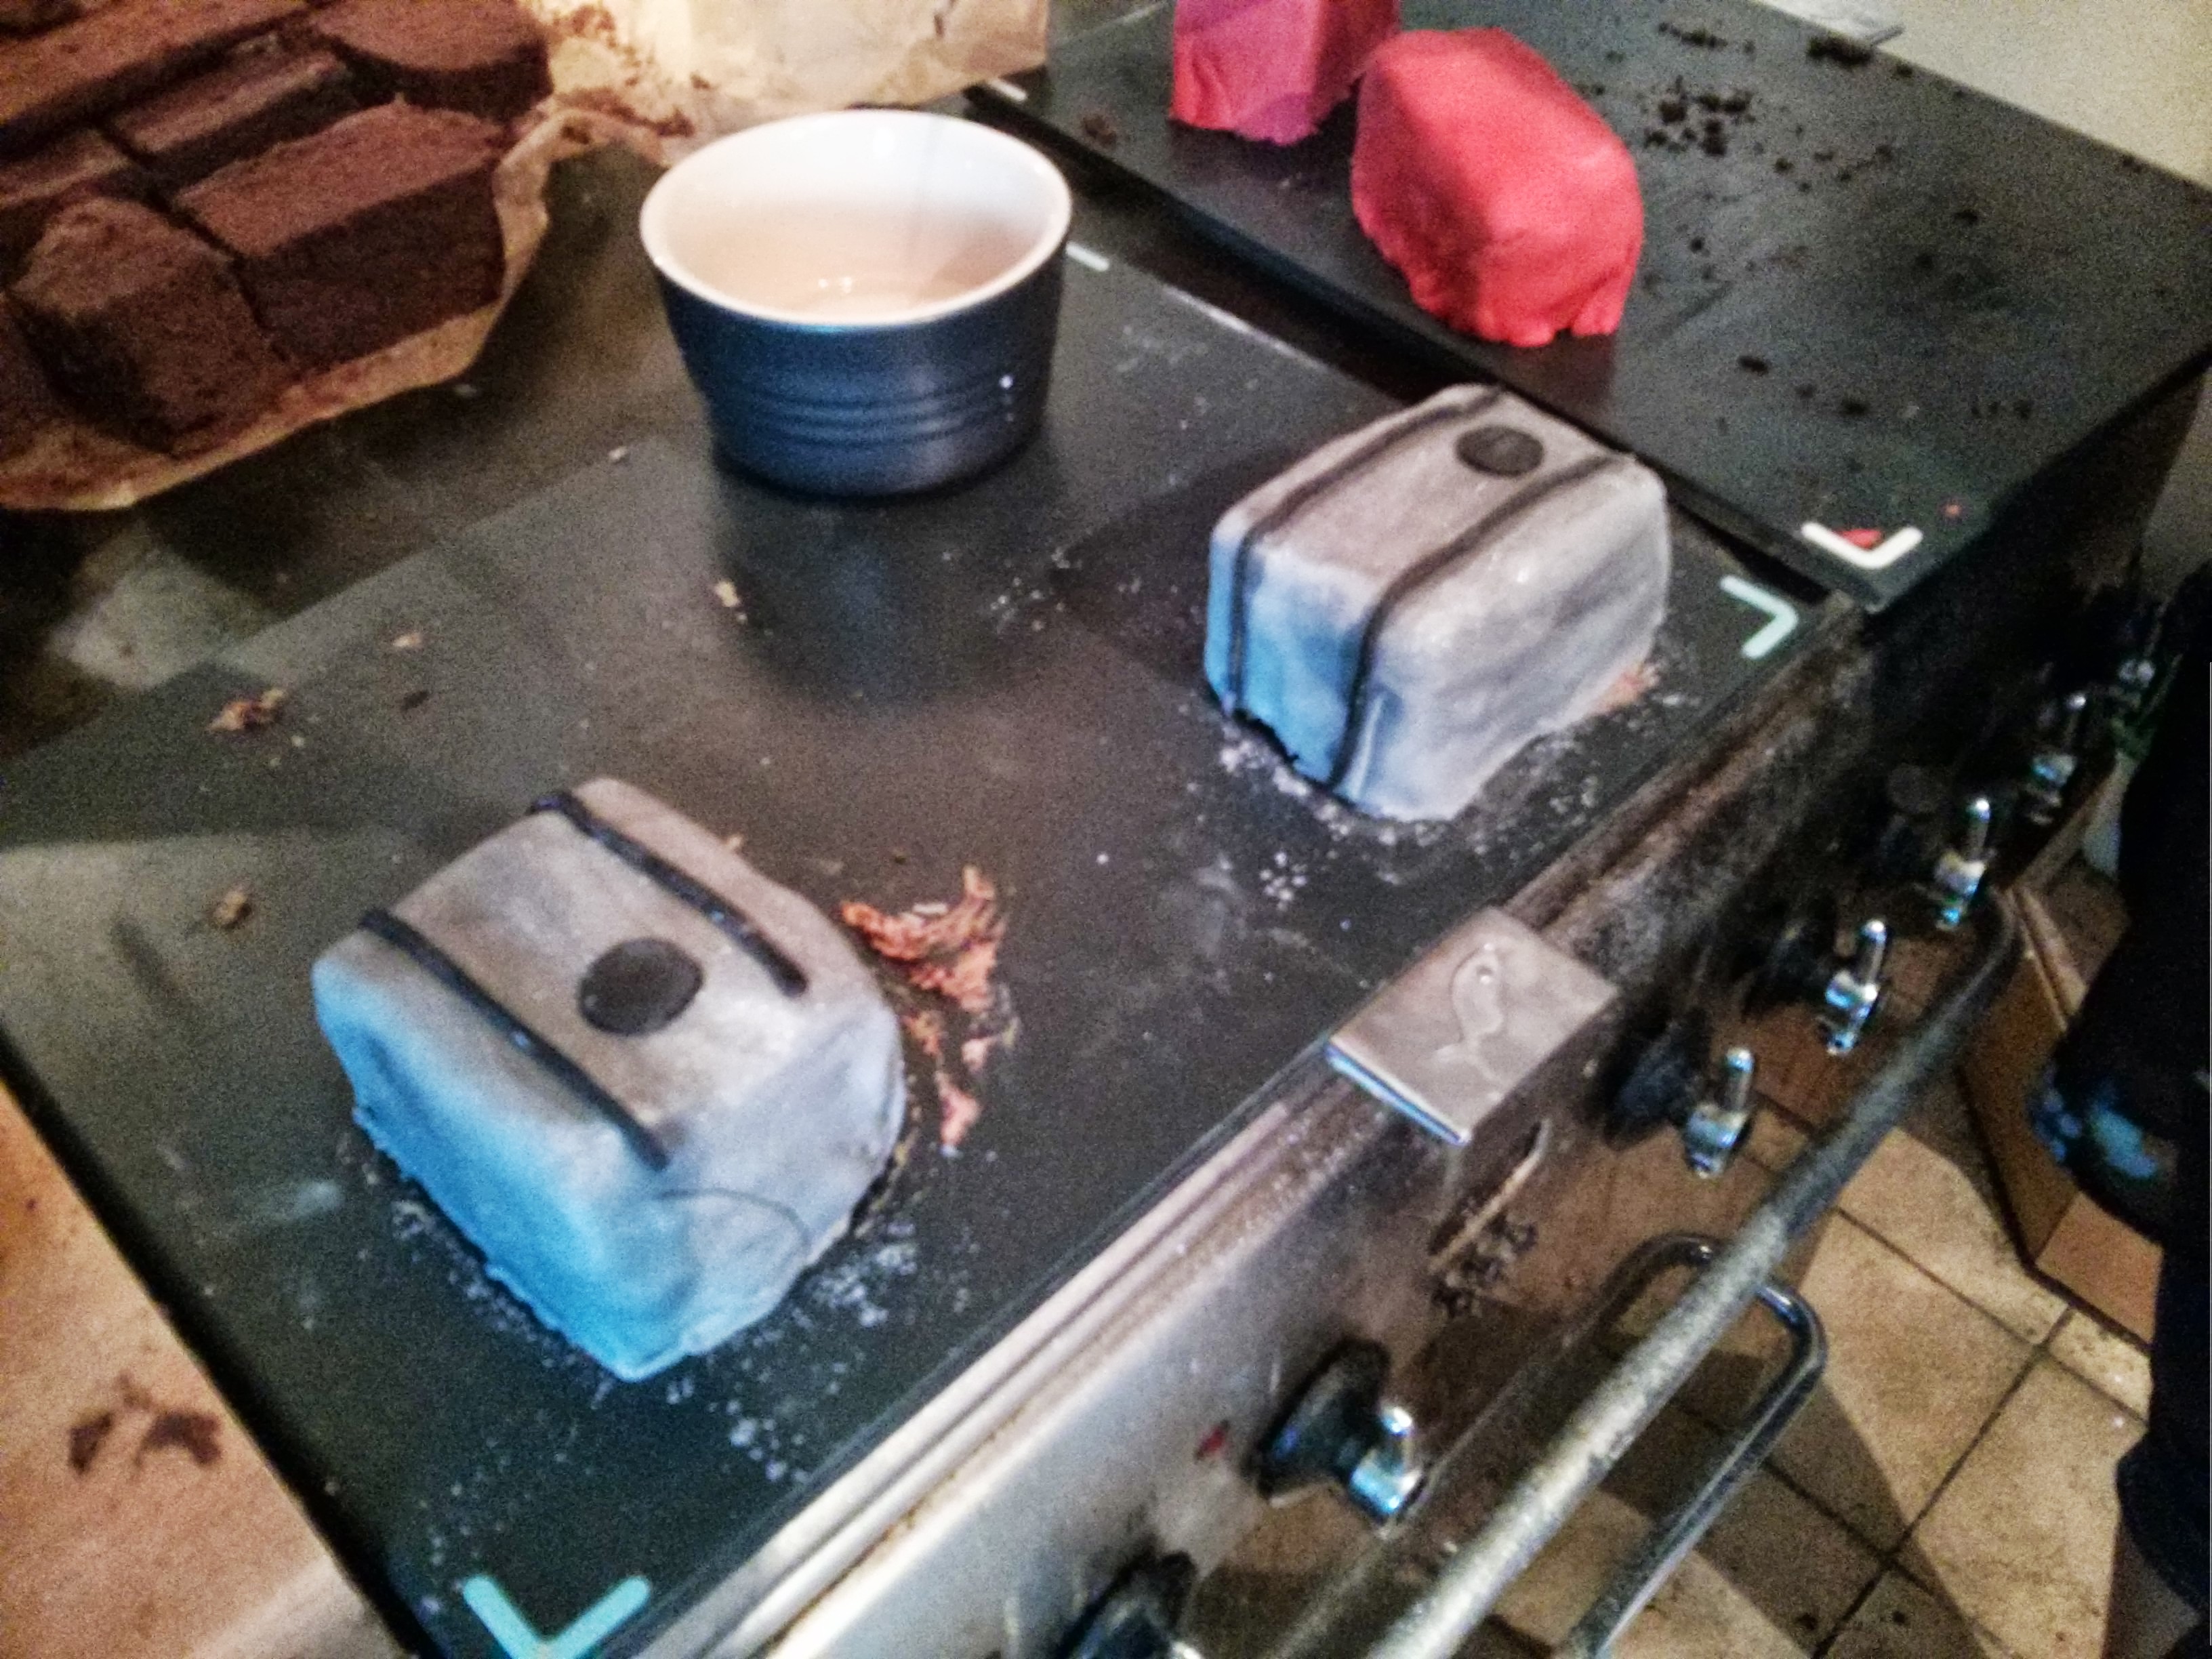
Then we assemble on the cake, with the help of some apricot jam, and hope my maths worked!

After we assembled it we realised we shouldn’t have put fondant icing where sections met, especially the light sabre handles connecting to the light sabre lights. Oh well… live and learn!
Finally we needed the Star Wars logo on the board. This involved some tricky cutting around templates.
 The letters then got attached to the board with some water, and then we outlined the letters with edible marker pen.
 Both parts were then left overnight protected by cloches. OK… there was some bolting os stable doors here, as Mr Ichigo has already wandered over the board while we were fiddling with Star Wars letters, as you’ll see in the final photo!
 We took the cake over to the birthday house in these parts and assembled there. We did consider putting a grey circle over the cat paw print and calling it a Death Star motif… but couldn’t be arsed!

It tasted surprisingly good to an adult palate, despite all the layers of chocolate and sugar. The rich Madeira cake not only holds its shape well but also cope with all that kiddy decoration apparently!

