

So my rye starter has been sat for 24 hours and it’s now ready to make the final mix.
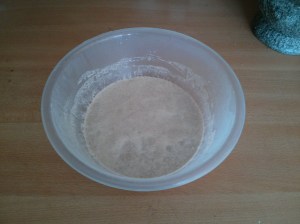
After taking the starter out of the plastic bag it’s looking nice and bubbly, which is a good sign.
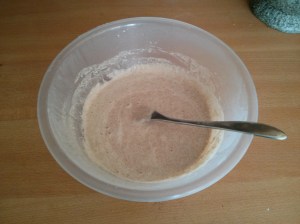
A quick mix with a fork makes sure everything is mixed in properly.

Then I take 60g of the starter and put it back in the fridge mix. You might remember I started by taking 50g out of the fridge mix; putting 60g back allows for a little spillage.
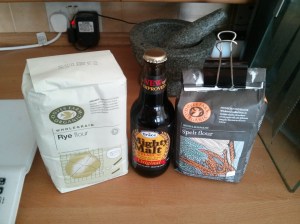
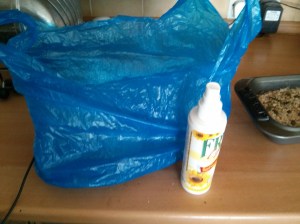
Today I’m using some spelt flour in the mix, which I tried last week and worked really well. The all rye flour bread is very dense, and I like it lightened up just a little bit. Normal bread flour works for this, and now I’m just experimenting with other types. I’m hoping to try potato flour soon, but for today’s experiment it’s the liquid I’m changing. As you can see I’ve bought some Mighty Malt (other malted drinks are available :) and I’m going to try that.

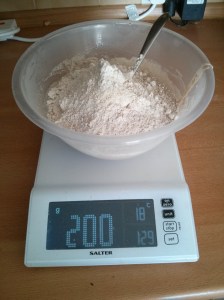
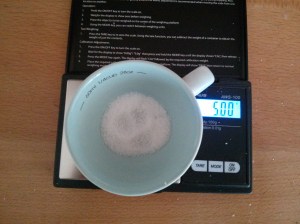
I need 330g of flour, and I’m splitting that into 130g more rye flour, and 200g of the spelt. You also want 5g of salt, which is a teaspoon or a couple of big pinches if you don’t have special yeast scales like some of us do!

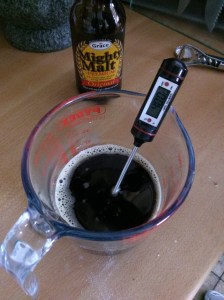
Again the liquid wants to be at around 40c, so I microwaved the malt drink to get the right temperature. Once again I’m sure you don’t need the digital thermometer, just roughly body temperature will be fine, but I just like my toys!


So 200g (200ml) of the liquid into the bowl, and mix, which only takes a minute.
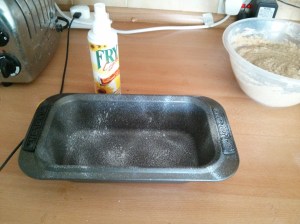

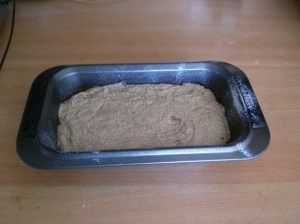
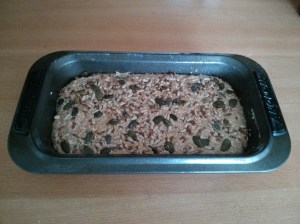
No needing is required for this bread (as you’re not going to get rye flour to develop much gluten anyway) so spray a loaf tin with oil and pour the mixture in.
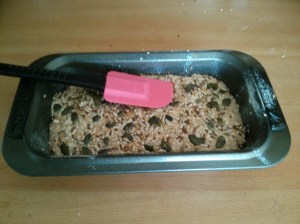
I like to sprinkle the top with seeds. Not only does this add to the taste, it also adds various healthful micronutrients to the final product!

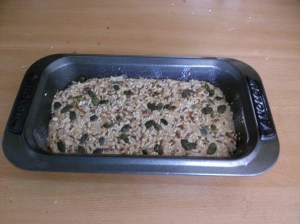
As the dough is going to rise it’s a good idea to spray the inside of the plastic bag with oil before proving, as you don’t want to find dough stuck to the bag!
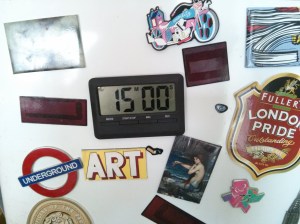
Then it’s back to your warm spot to prove for up to an hour. Personally I find 45mins is about right: any more than that and you get an air hole in the final loaf.

As always, it’s good to have a large cat to guard your dough :)

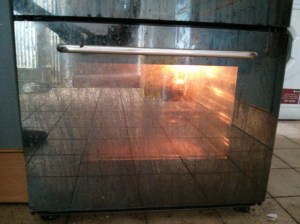
The loaf will want to go into the oven at the hottest temperature you can get. For me that’s as close to the claimed 230c temperature on the fan oven. And oh look: another toy – digital oven thermometer!
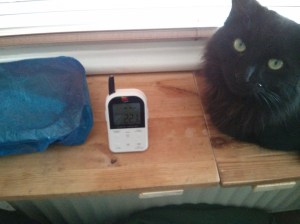
After 45mins proving under the watchful eye of a large cat, and with the oven as hot as it’s going to get (measured using the wireless part of my digital oven thermometer… ahem…) we’re all set.
Don’t expect the dough to have risen as much as normal bread. If it gets to double the size it’s probably over-proved and you might get that air hole I mentioned earlier.
So into the oven at max temperature for 15mins.


After 15mins turn down to 180c fan (200c normal) and bake for another 35mins. Apparently with rye bread you don’t need to worry too much about over cooking, so don’t even think of opening the oven door until all the cooking is done.
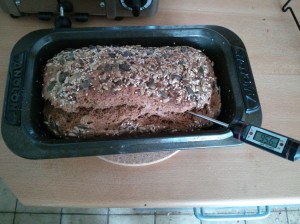
After cooking I check the loaf is over 90c internally using the digital thermometer. If it’s not, it goes back in for another 5-10mins, but it’s normally done by now. If you don’t have a thermometer… erm.. I guess you do the tapping the bottom thing :S

Turn out the loaf using oven gloves (as the loaf and tin with both be hot) and leave to cool on a cooling rack. The bread will continue to cook as it cools, so don’t be tempted to cut into for tasting before it’s cooled.
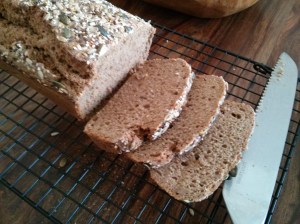 Once it’s cooled you can cut into it. Looks like I got lucky this time and there’s no air hole in there!
 We found it was a great accompaniment to a spaghetti puttanesca.

